Showing posts with label diy. Show all posts

Monday, 18 August 2014

Gluten Free Cinnamon Cookies!


Autumn is by far my favourite season of the year (or for other countries, 'Fall' lol). And I feel like the best way to kick off the Autumn season is to bake something with cinnamon in it. The house just feels so warm and cosy with the smell of freshly baked goods and cinnamon lingering in the air. So I thought it would be a nice idea to do a quick little recipe for you guys. Enjoy!

Ingredients: 
- 3oz margarine
- 2 teaspoons of vanilla essence 
- 5oz gluten free flour 
- 5oz sugar 
- 1 tablespoon of ground cinnamon
- 2 egg yolks
- a dribble of milk
- a little bit of olive oil 
- a little bit of flour to roll out pastry 
- a sprinkle of sugar at the end to decorate

Method: PREHEAT OVEN TO 150 DEGREES CELSIUS 

1) Put margarine, vanilla essence, flour, sugar, cinnamon and egg yolks into a large mixing bowl.  I used a hand whisk to blend everything together in the bowl until the mixture formed into a ball. You can also use a bit of milk to help the mixture stick together. 


2) Sprinkle some flour onto a clean surface and place the dough ball onto the surface. Knead it for a bit and then roll it out into a thick slab. 


3) Once you have the thickness you want, use a cookie cutter and cut into shapes that you want. Line a baking tray with baking paper and place cookies onto the tray. 


4) Brush the tops of the cookies with olive oil and put in the oven for 15/20 mins. Whenever they start to turn golden. 


5) Once they're out of the oven, sprinkle with sugar and cool down on the tray. Enjoy!


Hope you guys enjoyed this little post! I have a lot going on with results from my exams and college offers! Hope you enjoyed this. 

Thanks
Lucy xo

Sunday, 13 July 2014

Festival Fashion Combos!


Hello! So yesterday I went to see Arctic Monkeys in Marlay Park in Dublin and they were amaaazinggg!! Special guests were Royal Blood, Miles Kane and Jake Bugg! The whole day was amazing, and surprisingly, I enjoyed the little showers throughout the day because it was just so hot!

But anyways! The day before, I wanted to see what I was going to wear so while I was deciding, I decided to take a few pics and make up some festival fashion combos! I didn't really do accessories because there were so many outfits, but these are the outfits that I liked the most! I have my DIY tops in there somewhere and if there is anything you want to know where I bought it, don't be afraid to ask! Also want to apologise as I am not the most photogenic and my bedroom isn't exactly a great background but I tried my best! 

Next week I am going to Longitude music festival so I will post next week what I wore to that and what I decided to wear to Arctic Monkeys! 

OH forgot to mention I was already tanned but I put a light layer of COCOA BROWN TANNING MOUSSE on!! I love this tan and I think it is so perfect for the summer months!

Hope you're all enjoying the festival season and I hope to be back soon with more posts! 
Thanks!
Lucy xo


Wednesday, 9 July 2014

Lucy's DIY Cupcake Towers

Ever get bored and just want to make something new? Well that happened to me today and i've been collecting tins for a secret DIY project (ooooh!) so I was like, why not? So here it is, my DIY Cupcake Tower things. 

Utensils: - A couple of tins, washed and dried with labels off
- Greaseproof paper or non-stick spray
- Stuff you'd use to make normal cake mixture, like an electric whisk, bowl, spoons, whatever you use to make cake mixture.

Ingredients: Mixture: 
- 8oz flour
- 8oz sugar
- 8oz margarine
- 4 eggs
- 4oz cooking chocolate

Icing: 
- Butter or margarine
- Icing Sugar
-Strawberry Flavouring
-Bit of Milk (for consistency)


Method: - PREHEAT OVEN TO ABOUT 160 DEGREES CELCIUS
1) Mix together margarine and sugar in bowl.
2) Melt chocolate and put aside
3) Mix flour and eggs into sugar and margarine mixture. Then mix in the melted chocolate. If you don't think its gloopy enough, add a bit of milk. 


To grease the tins, either cut out the shapes as follows for the tin, or use non stick spray to ensure they slide out after baking easily. 


Scoop some mixture into tin and make sure it's about half full.  


Pop in the oven and leave in for 20-30 mins, or stick a knife in it and see if it's gooey in the middle still. If it is, put it back in the oven!


Make up your butter icing while the cakes are cooling. All you need to do is soften the butter, add in icing sugar until it tastes right, add flavouring and a bit of milk. 

Once the cakes have cooled, cut them across as seen in the photo below and spread the butter icing on them and join them up. If you get me. It makes a cupcake tower cake thing! My sister says they remind her of Daleks? From Doctor Who? 

Anyhoo! They are super easy to make and super cute! And super tasty! 

Hope you enjoyed this little tutorial! 
Thanks guys, 
Lucy xo


Thursday, 3 July 2014

DIY Candle Jars


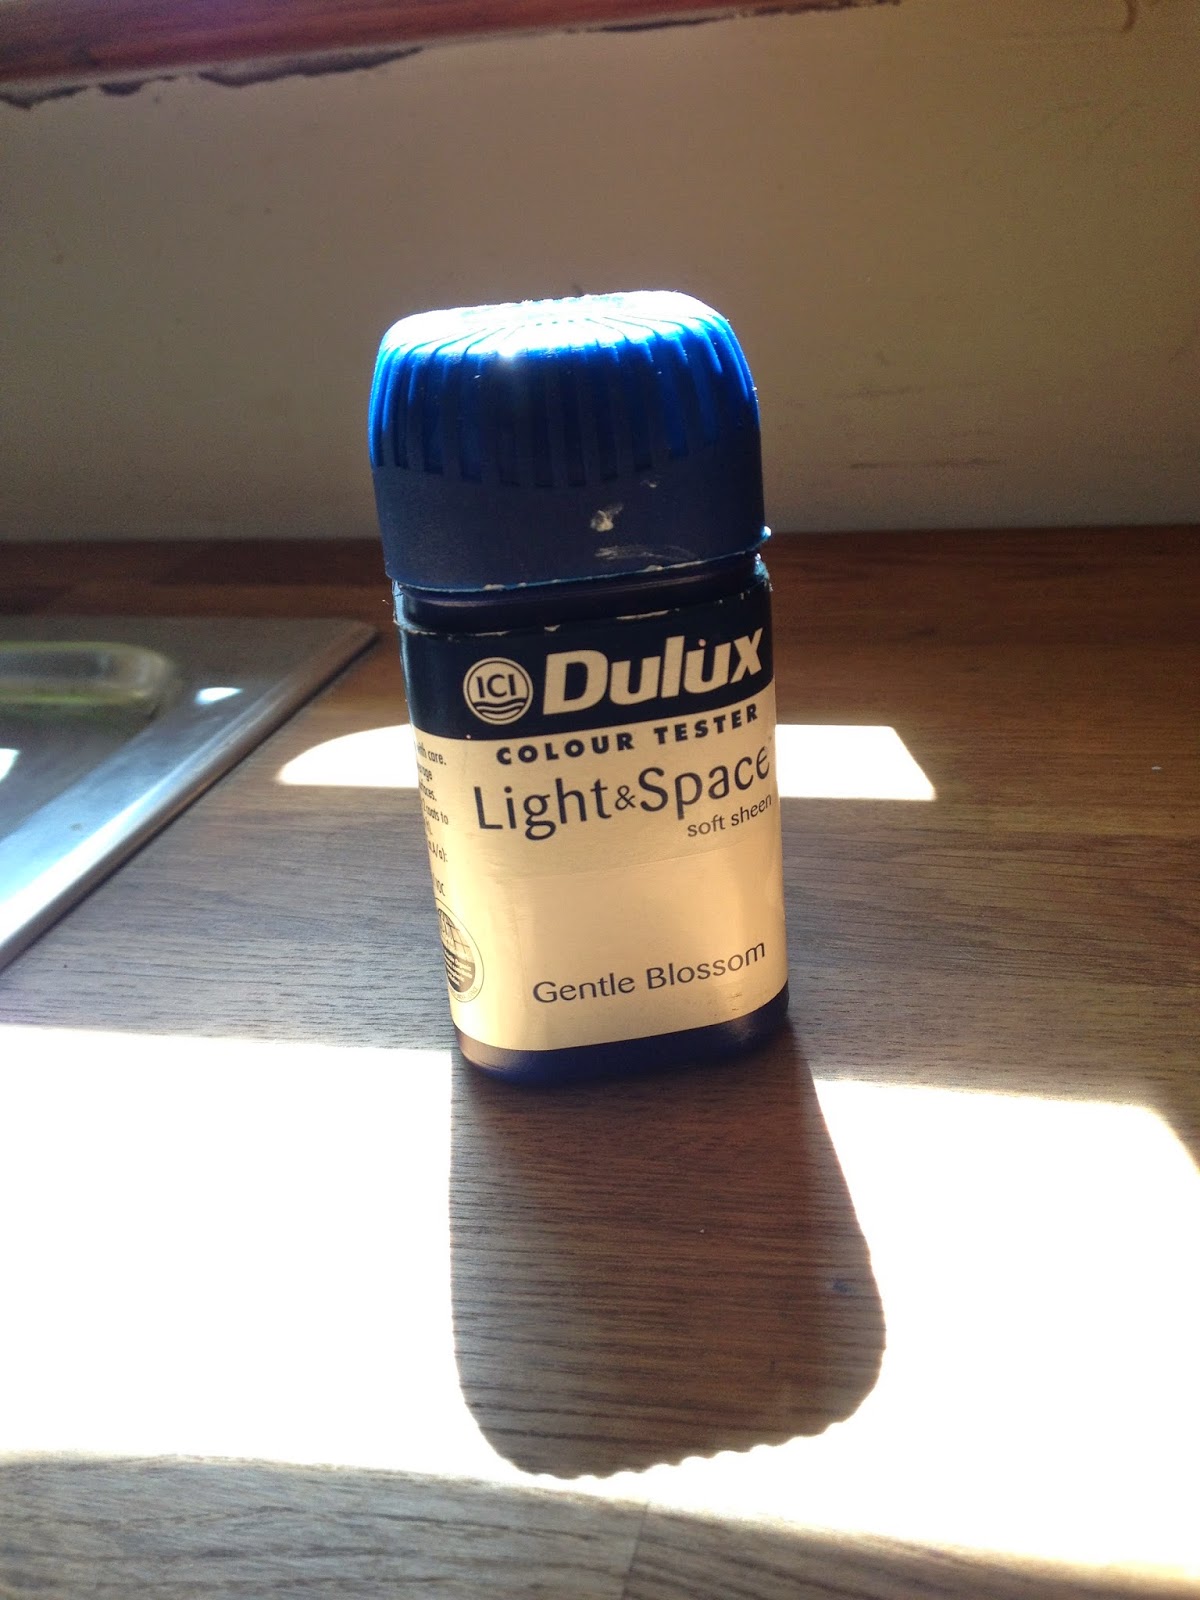
Heyyyy my lovelies! I am sorry its been a while since I posted, I haven't been at home much, I've been at my boyfriends a bit and my friends and they've been here so I haven't had much time to do anything! But today I have another DIY post for you!! We had a load of jars and I thought, hey why not do some DIY?? We had a load of paint samples from last summer when I was painting my room so I just used those to paint the jars.  The one in the photo has some candle wax on it sorry, twas from when I was testing to see if the tea light would sit okay in it!! :)


The pictures are pretty self explanatory, so I don't think I need to do a step by step. You need a jar, some paint, masking tap, scissors, some ribbon and a tea light. You need to make a love heart shape out of masking tape and stick it onto the front of the jar, Then you can paint over it with the paint and then peel it off when you're finished and you have a cute heart shape on the front! Then just stick your tea light in, tie a ribbon around the top and voila! 

These little jars are perfect for gifts. They're cheap and easy to make and don't take up a lot of time! :) If anyone makes one, take a picture, post it to instagram and tag me in it!! :D 

Thanks guys I hope you enjoy this little post! :) 
Lucy xo


Wednesday, 25 June 2014

DIY Crop Tops!!!


So I found some old swimming costumes of my little sisters that were way too small for any of us to fit in, so I decided to do some DIY. Its summer, I have a lot of free time so why not? These crop tops are super cute! They're a perfect idea for going on holidays or just for chilling at home during the summer months.  Swimming costumes are good to use as they are designed to cling to your skin and you don't need to stitch up at the bottom of the top. 

I am really not good at doing step by step details of things, I always feel like I ramble on and make no sense, so I will do my best to help. 

Step 1: Measure the swimming costume up against you, and in one side of the costume, cut a small hole at the height you want your crop top to be. Measure with a ruler or something with a straight edge, where the opposite side would match up to and cut a small hole in the other side.

Step 2: Cut across from one hole to the other. Do this on the front and back of the costume. Make sure to stretch the material so that it is a straight line with no rugged edges.

Step 3: Trim off any jagged edges. And voila, you are ready to go!

You can now wear this as a crop top for going out or just a casual top with high waisted jeans or something! Or you could also use the bottoms and make a 2 piece swimming costume! It is up to you what you decide to do with it! Get creative! 


Got an old t-shirt of your Dads? Brothers? Boyfriends? They're going to throw it out? STOP THEM NOW! You can reuse it and make a cool crop top! 

Step 1: Mark off where you want to crop top to end and make your cut off marks an inch or so below that.

Step 2: Repeat the steps from the first crop tops. 

Step 3:  Cut a line, about an inch in length, in the middle on the front, just above the line you have just cut. This is to be used to tie the other sides across. 

Step 4: Take 2 bits of material from either side of the shirt, and tie a not through the hole you have just cut down the middle of the top. And there you go, a cute crop top! PS. excuse lines on my belly, I was sitting over for ages cutting the tops lol. But who cares? ;) 


Thanks everyone, hope you enjoyed this post! If you recreate these looks, put a photo on instagram and tag me in it! Username, xxxlmgigglesxxx , surprise surprise!!

Thanks, 
Lucy xo